
Growing potatoes indoors can be a rewarding and convenient way to enjoy fresh, homegrown spuds year-round. With a bit of planning and the right conditions, you can successfully cultivate potatoes inside your home. Here’s a comprehensive guide to help you get started.
Materials Needed
- Seed potatoes
- Large containers or grow bags (at least 12-15 inches deep)
- High-quality potting mix
- Fertilizer (optional)
- Grow lights or a sunny window
- Watering can
Step-by-Step Guide
1. Choose the Right Potato Variety
Opt for potato varieties that are well-suited for container gardening. Some good choices include:
- Yukon Gold: A versatile and popular variety.
- Fingerlings: Small, elongated potatoes perfect for container growth.
- Red Pontiac: Known for its adaptability and productivity.
2. Prepare Seed Potatoes
What to Do:
- Purchase certified seed potatoes from a reputable source to avoid disease.
- Cut larger seed potatoes into chunks, each with at least one or two eyes (sprouts).
- Allow the cut pieces to dry for a day or two to form a callous, which helps prevent rotting.
3. Select and Prepare Containers
What to Do:
- Choose containers that are at least 12-15 inches deep and have good drainage. Grow bags, large pots, or even buckets with drainage holes work well.
- Fill the bottom of the container with 4-6 inches of potting mix. Ensure the mix is well-draining and rich in organic matter.
4. Plant the Seed Potatoes
What to Do:
- Place the seed potato pieces on top of the soil, with the eyes facing up.
- Cover the potatoes with an additional 4-6 inches of potting mix.
- Water the soil lightly to moisten it.
5. Provide Adequate Light
What to Do:
- Potatoes need at least 6-8 hours of sunlight daily. Place the containers in a sunny window or under grow lights.
- If using grow lights, keep them on for 12-16 hours a day to ensure sufficient light exposure.
6. Water and Feed Regularly
What to Do:
- Keep the soil consistently moist but not waterlogged. Water when the top inch of soil feels dry.
- If desired, apply a balanced, water-soluble fertilizer every 2-4 weeks during the growing season to support healthy growth.
7. Hill the Potatoes
What to Do:
- As the potato plants grow and reach about 6-8 inches in height, add more potting mix around the stems, covering the lower leaves. This process, known as hilling, encourages the production of more tubers.
- Repeat hilling every 2-3 weeks until the soil level reaches the top of the container.
8. Monitor for Pests and Diseases
What to Do:
- Check plants regularly for signs of pests (such as aphids) or diseases (such as blight).
- Remove any affected foliage and treat with appropriate organic or chemical solutions if necessary.
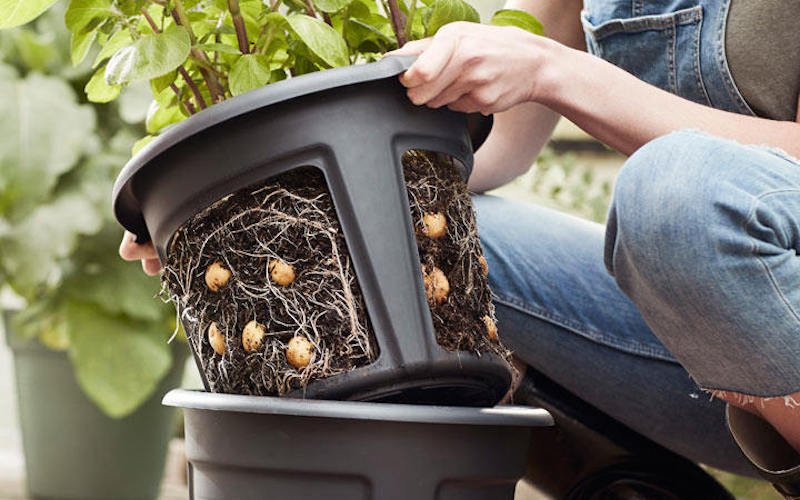
9. Harvesting Your Potatoes
What to Do:
- Potatoes are ready to harvest when the foliage starts to yellow and die back, usually about 10-12 weeks after planting for new potatoes, and 15-20 weeks for mature potatoes.
- Carefully dig through the soil with your hands to find the potatoes, or dump out the container and sift through the soil to collect your harvest.
10. Store Your Harvest
What to Do:
- Allow freshly harvested potatoes to dry for a few hours before storing.
- Store potatoes in a cool, dark, and well-ventilated area to prolong their freshness.
Tips for Success
- Temperature: Maintain indoor temperatures between 60-70°F (15-21°C) for optimal growth.
- Air Circulation: Ensure good air circulation around the plants to prevent mold and mildew.
- Rotation: Rotate containers periodically if using natural sunlight to ensure even light exposure.
Growing potatoes indoors can be a fun and productive gardening project. By following these steps and providing the right conditions, you can enjoy fresh, homegrown potatoes regardless of the season.